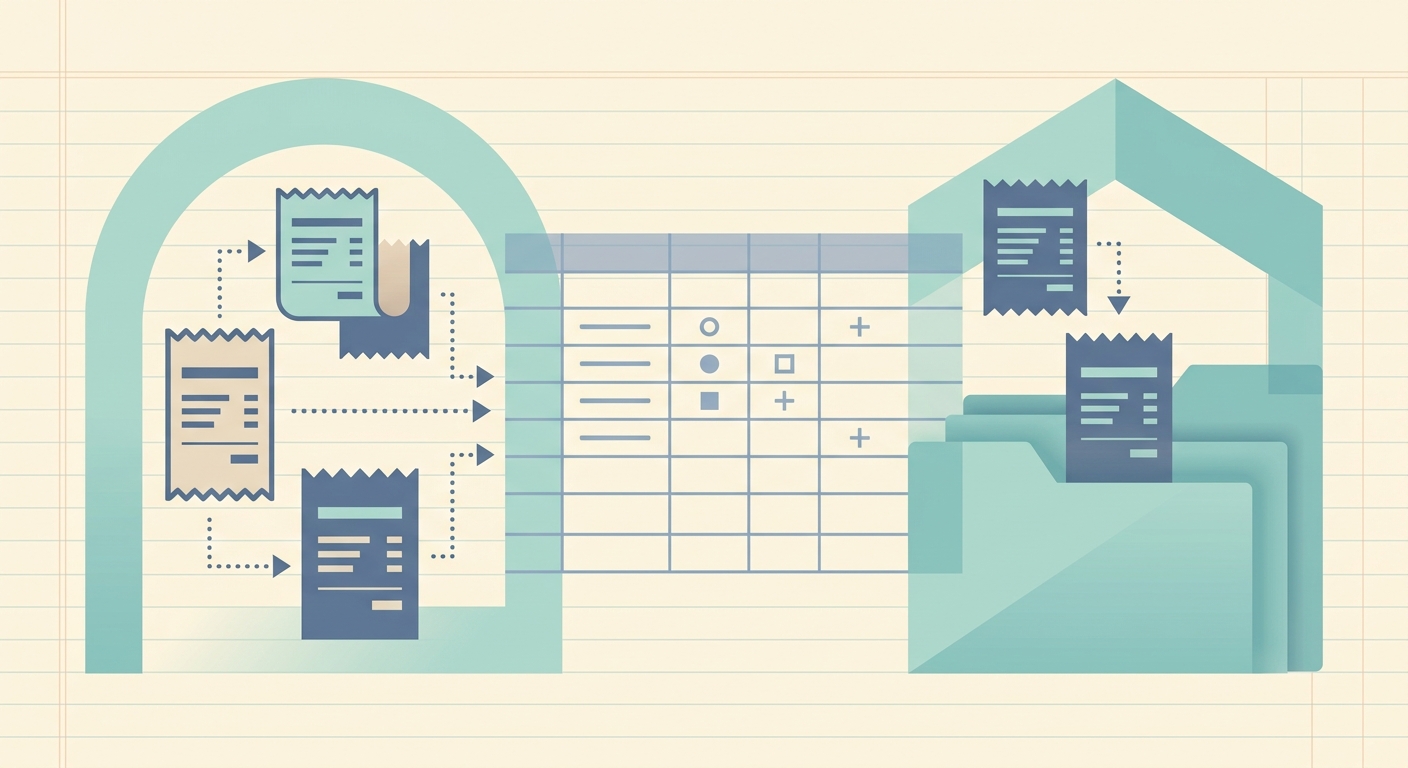
Old receipts are easy to ignore until tax season, an audit request, or a client question brings them back into view. Paper fades, inboxes become difficult to search, and a folder full of mixed files does not tell you which expenses are deductible or billable. A practical archive gives every receipt a clear home, useful details, and enough context to find it later.
This process works for a freelancer, a small business owner, or a bookkeeper managing records for several clients. The goal is not to create a perfect filing system overnight. The goal is to turn old receipts into organized records that you can search, review, export, and retain according to your accounting policy.
What you need before you start
Set aside a short, focused block of time and gather the receipts you want to archive. You can work one month, quarter, or tax year at a time. Starting with a defined batch keeps the project manageable and makes it easier to spot anything missing.
- Paper receipts, digital receipts, email attachments, and existing receipt folders
- A phone or scanner for paper documents
- A spreadsheet or accounting system where the final records will live
- A consistent naming or tagging approach for dates, vendors, categories, and clients
- A secure place to store the original images or PDFs
Before processing the batch, decide how long your business needs to keep receipts. Retention requirements vary by location, tax situation, industry, and business structure. Your accountant or local tax authority can help you choose a policy. Digital copies should be readable, backed up, and protected from unauthorized access.
1. Gather and sort your receipts
Collect receipts from every place they may be hiding. Check desk drawers, envelopes, cloud storage, email, accounting software, and photo libraries. If a receipt belongs to a client project, put it with that project temporarily rather than mixing it into a general pile.
Sort the batch into a few simple groups:
- Receipts that are clear and complete
- Receipts that are faded, damaged, or missing key information
- Receipts that may be duplicates
- Receipts that need a business purpose, client, or category added
Do not spend too much time categorizing before you capture the basic record. A date and total are useful starting points, even when you still need to confirm the account category. For damaged receipts, look for a matching bank or card transaction, order confirmation, or vendor account before marking the record incomplete.
2. Capture each receipt
For paper receipts, take a clear photo in good light. Keep the entire receipt in the frame, avoid glare, and make sure the text is readable. For digital receipts, upload the original PDF or image when possible. Avoid relying on a screenshot if the original file contains more complete information.
SlipSheet can help you capture older receipts without retyping every line into a spreadsheet. Upload the image or document, then let the receipt data be extracted into structured fields. This is especially helpful when you have a backlog, because the same process can handle a mixed set of vendors and receipt formats.
Use one record per receipt unless your accounting process specifically requires another approach. If a single purchase includes several business purposes, keep the receipt together and add notes or line details during review. Never discard the original image just because the extracted data looks correct. The image provides important support for the transaction.
3. Review the extracted fields
Extraction saves time, but it is not a replacement for review. Check each record against the receipt image and correct any field that is missing or misread. Pay particular attention to decimals, dates, tax, and vendor names. A total of 180.00 can become 18.00 if the image is unclear, and a date can be interpreted in the wrong format.
At minimum, review these fields:
- Purchase date
- Merchant or vendor
- Subtotal, tax, and total
- Payment method or last four digits, if useful to your process
- Expense category
- Business purpose, client, or project
- Notes about reimbursements, partial business use, or missing information
Compare the total to the related bank or card transaction when the receipt is old or damaged. Flag uncertain records instead of guessing. A short note such as “client meal, attendees not confirmed” gives you a useful follow-up list and protects the quality of the archive.
4. Export, store, and share the archive
Once the records are reviewed, export them in the format your workflow uses. A CSV or Excel file is useful for sorting, filtering, and handing a batch to a bookkeeper. If your accounting process uses a connected platform, export or transfer the fields in the format it accepts. Keep the receipt image linked to the corresponding row or record whenever your tools support that connection.
Choose a predictable folder structure for the source files. For example, you might use Receipts/2024/03-March/, with a filename such as 2024-03-18-vendor-total.pdf. If you work with clients, include a client identifier in the folder or filename. Do not put sensitive files in a shared folder unless the permissions are appropriate.
Back up the archive in at least one separate location. Test the backup by opening a few files and confirming that the images are still readable. If you send records to an accountant or client, share only the necessary batch and use a secure method rather than an open public link.
Common mistakes to avoid
- Waiting for tax season: Process smaller batches throughout the year so the backlog does not become a crisis.
- Keeping only a spreadsheet: The structured data is useful, but the original receipt image supports the transaction.
- Trusting extraction without checking: Review totals, dates, tax, and vendor names before exporting.
- Using inconsistent categories: Write down a short category guide and apply it consistently.
- Deleting duplicates too quickly: Confirm that two similar receipts are truly duplicates and not a receipt plus a refund or adjustment.
- Ignoring incomplete records: Flag missing details and create a follow-up list instead of silently filling gaps.
After the first batch, note what slowed you down. You may need a better photo process, a shorter category list, or a regular weekly review. The best archive is the one you can maintain without turning every receipt into a research project.
SlipSheet helps you move from scattered receipt images to organized, reviewable records. Capture your backlog, check the extracted fields, and export a clean file for your spreadsheet or accounting workflow at slipsheet.app.
FAQ
How long should I keep old receipts?
Retention depends on your location, tax situation, industry, and business structure. Set a written policy with guidance from your accountant or local tax authority, and keep digital copies readable and backed up.
Should I keep the original paper receipt after scanning it?
Keep the original when your policy or local requirements call for it, and retain a clear digital copy either way. The image should remain linked to the structured record.
What receipt details should I archive?
Capture the date, vendor, subtotal, tax, total, payment reference when useful, category, and business purpose or client. Add notes for reimbursements, partial business use, or missing information.
Can I archive receipts in a spreadsheet?
Yes. A CSV or Excel export makes receipts easy to sort and review, but keep the original receipt image or PDF with the record for supporting documentation.
How does SlipSheet help with old receipts?
SlipSheet extracts receipt details from uploaded images or documents so you can review and export structured records without retyping every field.