How to Convert Receipts to a Spreadsheet: A Step-by-Step Guide
Managing receipts can often feel like a never-ending chore, a mountain of paper or a digital deluge that piles up faster than you can sort it. Whether you are a small business owner tracking expenses, a freelancer preparing for tax season, or simply someone trying to stick to a personal budget, the need to efficiently organize financial records is universal. The good news is that you no longer need to spend hours manually typing data from each receipt into a spreadsheet. Modern tools, like SlipSheet, have revolutionized the process, making it incredibly simple to convert receipts to a spreadsheet.
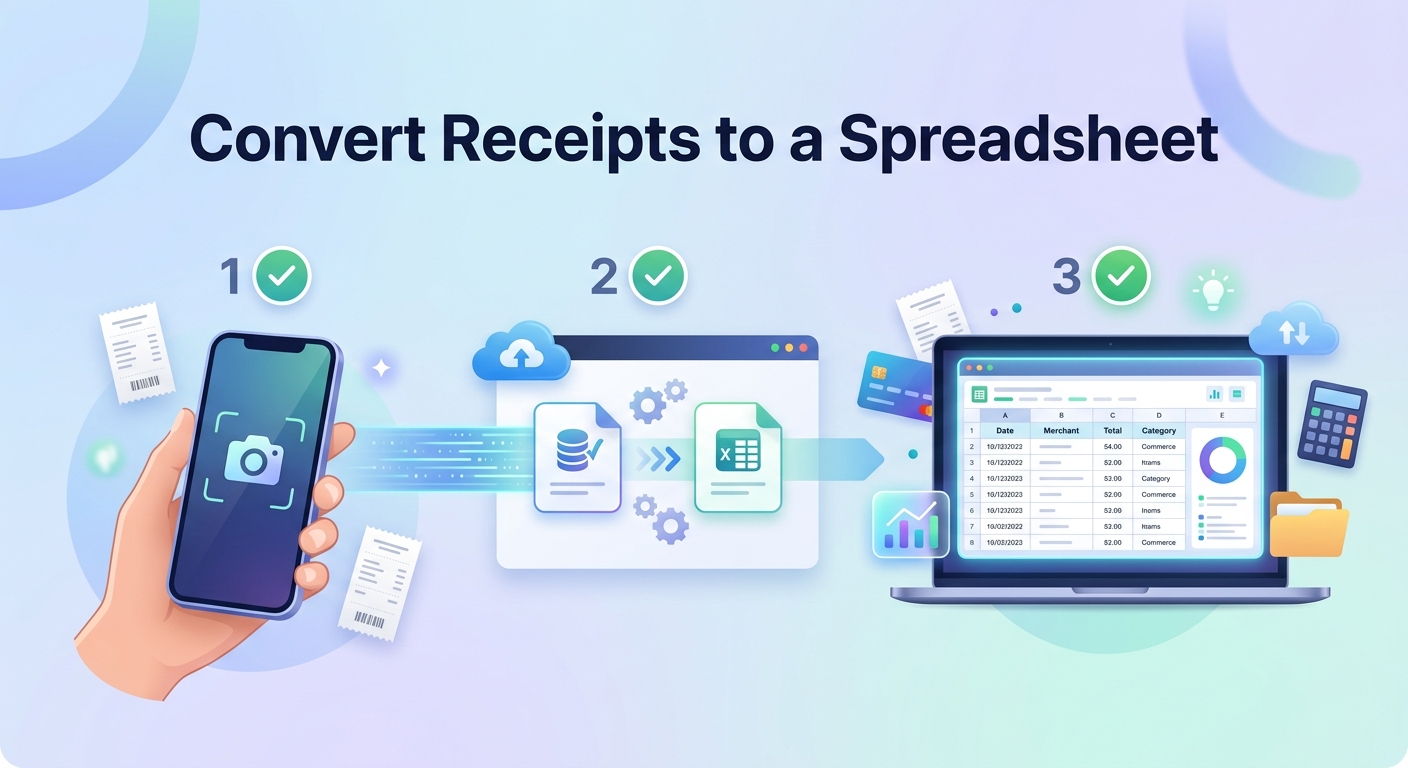
This comprehensive guide will walk you through the entire process, demonstrating how you can transform your disparate receipt data into a clean, actionable spreadsheet with minimal effort. We will cover everything from gathering your receipts to exporting your structured data, ensuring you have all the knowledge to streamline your financial record-keeping.
What You Need to Get Started
Before diving into the conversion process, it is helpful to gather the necessary tools and information. Fortunately, the requirements are minimal and easily accessible for most users.
- Your Receipts: These can be physical paper receipts, digital PDFs, screenshots from online purchases, or even email receipts.
- A Smartphone or Digital Camera: For capturing clear images of physical receipts.
- An Internet Connection: Essential for uploading your receipts to a cloud-based conversion tool.
- A Receipt Conversion Tool: This is where SlipSheet comes in. It is designed specifically to automate the extraction of data from your receipts and format it for spreadsheets.
- A Computer or Tablet: While many steps can be done on a smartphone, reviewing and exporting data is often more comfortable on a larger screen.
Phase 1: Gathering Your Receipts
The first step in any organizational task is collection. Before you can convert receipts to a spreadsheet, you need to consolidate all your receipts in one place. This phase involves both physical and digital receipts.
-
For Physical Receipts:
- Lay each receipt flat on a well-lit, contrasting background.
- Take a clear, well-focused photo, ensuring all details, including vendor name, date, total amount, and any tax information, are visible and legible. Avoid shadows or glare.
- If a receipt is very long, you may need to take multiple overlapping photos. SlipSheet can often stitch these together intelligently.
- Store these images temporarily in a dedicated folder on your device or cloud storage.
-
For Digital Receipts (PDFs, Emails, Screenshots):
- Locate any PDF receipts you have downloaded from online purchases or received via email.
- For email receipts, you can often forward them directly to SlipSheet or save them as a PDF.
- Take screenshots of digital receipts displayed on your screen if a PDF option is not available. Ensure the entire receipt is captured.
- Organize these digital files into a single folder on your computer or cloud drive for easy access.
Phase 2: Uploading Receipts to SlipSheet
Once your receipts are gathered, the next step is to get them into your chosen conversion tool. SlipSheet makes this process intuitive and efficient, handling various file types with ease.
-
Access SlipSheet: Navigate to slipsheet.app in your web browser and log in to your account. If you are a new user, you will need to create one, which is a quick and straightforward process.
-
Initiate Upload: Look for an 'Upload' button or a designated drag-and-drop area on the SlipSheet interface. SlipSheet is designed for simplicity, so this step is usually very prominent.
-
Select Your Files: You can typically select multiple receipt images, PDFs, or even forward email receipts directly to a unique SlipSheet email address. This batch processing capability significantly speeds up the workflow when you have many receipts to convert receipts to a spreadsheet.
-
Automatic Processing: Once uploaded, SlipSheet's advanced Optical Character Recognition (OCR) technology immediately begins scanning your receipts. It intelligently identifies and extracts key data points such as the vendor name, date of transaction, total amount, tax, currency, and often even line-item details.
Phase 3: Reviewing and Refining Extracted Data
While SlipSheet's OCR is highly accurate, a quick review is always recommended to ensure perfect data integrity. This step is crucial for maintaining precise financial records and avoiding errors down the line.
-
Access the Review Interface: After processing, SlipSheet will present you with a dashboard or a list of your uploaded receipts, along with the data it has extracted. Each receipt will typically show the original image alongside the recognized fields.
-
Verify Key Fields: Carefully check the automatically extracted information for each receipt. Pay close attention to:
- Vendor Name: Is it correctly identified?
- Date of Transaction: Is the date accurate?
- Total Amount: Does the extracted total match the receipt's total?
- Tax Amount: Is the sales tax or VAT correctly identified?
- Currency: Is the correct currency symbol and type applied?
- Category: SlipSheet may suggest categories; confirm or adjust them as needed.
-
Make Corrections: If you spot any discrepancies, SlipSheet provides an easy-to-use interface to edit the fields. Simply click on the incorrect data point and type in the correct information. This ensures that when you finally convert receipts to a spreadsheet, your data is flawless.
-
Add Additional Notes (Optional): Many tools allow you to add custom notes or tags to each entry, which can be useful for internal tracking or specific accounting purposes.
Phase 4: Exporting Your Data to a Spreadsheet
With your data reviewed and refined, the final step is to export it into your preferred spreadsheet format. This is where your efforts culminate in a perfectly organized, actionable spreadsheet.
-
Select Receipts for Export: In SlipSheet, you can typically select individual receipts or choose to export all processed receipts. You might also have options to filter by date range, vendor, or category before exporting.
-
Choose Export Format: SlipSheet offers various export options, commonly including CSV (Comma Separated Values) and Microsoft Excel (XLSX). CSV is a universal format compatible with almost all spreadsheet software, while XLSX is ideal if you primarily use Excel.
-
Initiate Export: Click the 'Export' button. SlipSheet will then compile all the verified data into a structured file, with each receipt typically represented as a single row and each data point (vendor, date, total, etc.) as a column.
-
Download and Use: Your spreadsheet file will download to your computer. You can now open it in Excel, Google Sheets, LibreOffice Calc, or import it directly into your accounting software like QuickBooks or Xero. This structured data is ready for budgeting, expense analysis, tax preparation, and more.
Common Mistakes to Avoid When Converting Receipts
While SlipSheet simplifies the process of converting receipts to a spreadsheet, being aware of common pitfalls can save you time and ensure higher accuracy:
- Poor Quality Images: Blurry, dark, or incomplete photos are the biggest cause of OCR errors. Always aim for clear, well-lit images where all text is legible.
- Missing Key Information: Ensure your photos or digital receipts include the vendor name, date, and total. Without these, the data is incomplete.
- Not Reviewing Extracted Data: Relying solely on automation without a quick check can lead to small but significant errors. Always perform a quick review as outlined in Phase 3.
- Procrastination: Letting receipts pile up makes the gathering and review process more daunting. Try to process receipts regularly, perhaps weekly or bi-weekly.
- Using Inefficient Manual Methods: Avoid the temptation to manually type out data for a few receipts. Using a tool like SlipSheet, even for a small batch, is almost always faster and more accurate.
Converting receipts to a spreadsheet no longer needs to be a source of dread. With tools like SlipSheet, the process is streamlined, accurate, and efficient, freeing up your valuable time for more important tasks. By following these steps, you can maintain impeccable financial records, simplify budgeting, and sail through tax season with confidence.
Ready to transform your receipt management? Visit slipsheet.app today and experience the easiest way to convert receipts to a spreadsheet!
FAQ
Why should I convert my receipts to a spreadsheet?
Converting receipts to a spreadsheet simplifies expense tracking, budgeting, and tax preparation. It provides a clear, organized digital record, saving time and reducing errors compared to manual methods.
What types of receipts can SlipSheet process?
SlipSheet can process various formats, including photos of physical receipts, PDF receipts, and email receipts. It converts them all into structured, exportable data.
How accurate is the data extraction from receipts?
SlipSheet uses advanced OCR technology for high accuracy in data extraction. It also provides an intuitive interface for users to quickly review and make any necessary corrections, ensuring perfect data integrity.
Can I export my receipt data to different spreadsheet formats?
Yes, SlipSheet typically allows you to export your organized receipt data into common spreadsheet formats like CSV or Excel. This makes it highly compatible with most accounting software and personal finance tools.
Is it secure to upload sensitive receipt information to SlipSheet?
SlipSheet prioritizes data security, employing robust encryption and privacy measures to protect your financial information. Your data is secure throughout the conversion and storage process.