Organizing receipts by category is one of those small bookkeeping habits that saves real time later. When every gas receipt, software subscription, supply purchase, client meal, and shipping charge is already sorted, tax prep becomes less stressful, monthly reporting is clearer, and you spend fewer hours hunting through email, folders, glove boxes, and camera rolls.
The goal is not to build a complicated filing system. The goal is to capture each receipt once, assign it to the right category, check the key details, and keep the data somewhere you can actually use it. For many small businesses, freelancers, landlords, and bookkeepers, that means a clean spreadsheet backed by receipt images.
What you need before you start
Start with a simple category list that matches how you already review expenses. If you use accounting software, borrow its expense categories. If you work from spreadsheets, use practical labels that make sense when you scan a report later.
- Core categories: office supplies, software, travel, meals, fuel, utilities, rent, shipping, inventory, marketing, professional services, and taxes or fees.
- Receipt sources: paper receipts, email receipts, PDF invoices, screenshots, payment processor exports, and photos from your phone.
- Required fields: date, merchant, total, tax, payment method, category, project or client, and notes.
- Storage location: one cloud folder or workspace where receipt images and extracted data can live together.
Do not start with too many categories. A list with 10 to 20 categories is usually easier to maintain than a perfect chart of accounts with tiny subcategories. You can always add more detail later if your reporting needs it.
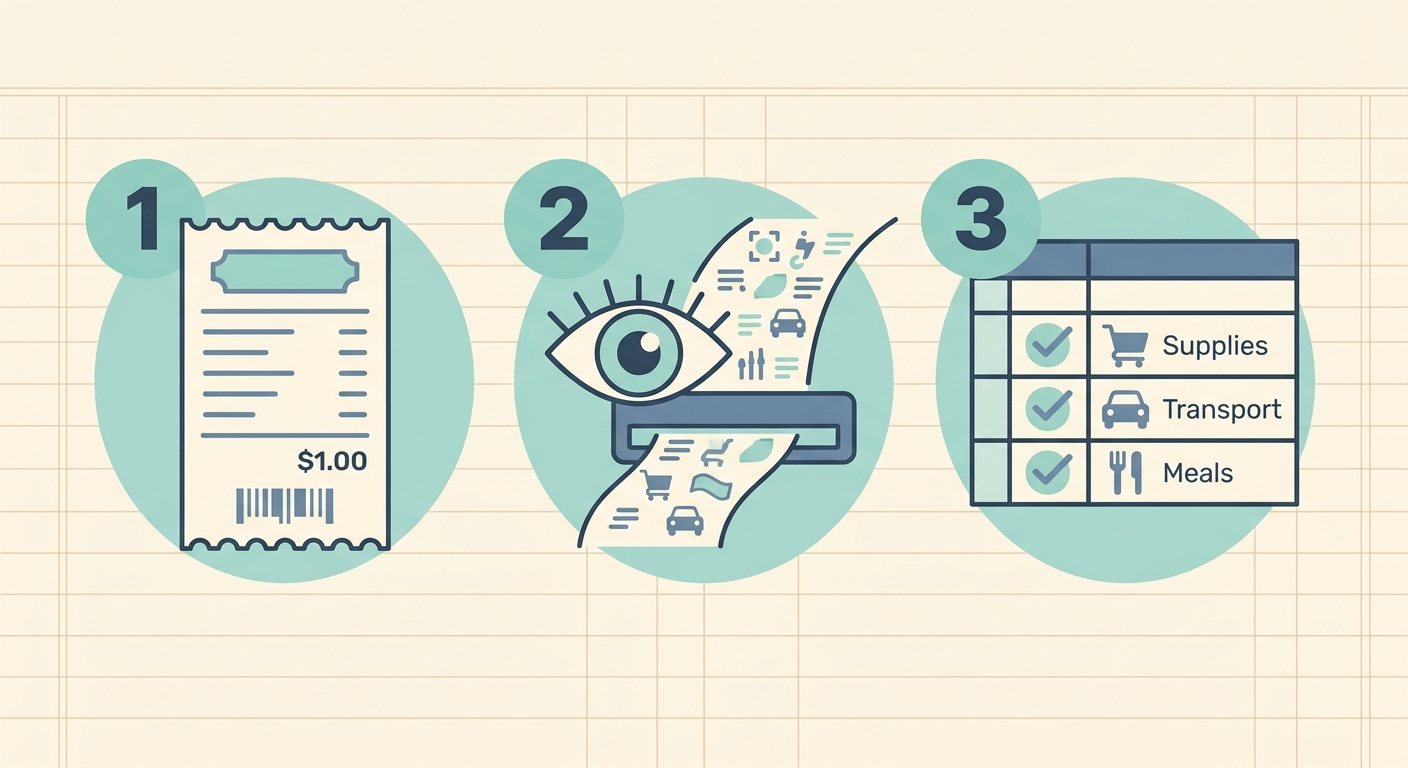
1. Gather your receipts in one place
The first step is consolidation. Receipts often get lost because they enter the business from too many directions. One person forwards email receipts, another drops paper slips in a drawer, and someone else takes photos but never uploads them. Pick one intake habit and make it boringly consistent.
For paper receipts, take a clear photo as soon as possible. Flatten the receipt, keep all four corners visible, and avoid shadows over the total. For email receipts, save the PDF or forward the message to a dedicated inbox. For screenshots, crop out unrelated phone clutter so the merchant, date, and total are readable.
If you use SlipSheet, this is where you upload or capture the receipts you want to process. Keeping the upload step close to the purchase makes the rest of the workflow easier, because you still remember what the expense was for.
2. Upload or capture receipts with SlipSheet
Once receipts are gathered, the next job is turning messy images and PDFs into structured rows. SlipSheet is designed for spreadsheet-first teams, so the workflow focuses on extracting receipt details into a format you can review, sort, filter, and export.
- Upload receipt images, PDFs, or supported files into your SlipSheet workflow.
- Let the extraction process read the merchant, date, total, tax, and other visible fields.
- Add a category field if it is not already part of your output.
- Use notes, client, project, or job fields when you need more context than a category alone can provide.
The important part is consistency. If fuel is sometimes labeled "Auto" and sometimes "Gas," reports will become harder to use. Choose one naming convention and stick with it. A short category guide can help if more than one person handles receipts.
3. Review extracted fields before filing
Receipt extraction saves time, but review still matters. A quick check catches blurry images, split totals, missing tax amounts, duplicate receipts, and category mistakes before they turn into month-end cleanup.
Review the fields in the same order every time. Check the date first, then merchant, total, tax, category, and any project or client tag. If the receipt has both a subtotal and a charged total, make sure the final paid amount is what lands in your spreadsheet. If a receipt includes personal and business items, add a note or split the expense before it gets filed.
Categories should answer a business question, not just describe the store. A purchase from Amazon might be office supplies, equipment, inventory, or software, depending on what was bought. A hotel charge might be travel, but a restaurant near the hotel may be meals. The merchant helps, but the purpose of the expense decides the category.
4. Export or share the categorized data
After receipts are reviewed, export the data in the format your workflow needs. Some teams want CSV files for spreadsheets. Others want a clean record to hand to a bookkeeper. The best system is the one that gets used every week, not the one with the most impressive labels.
A useful receipt spreadsheet usually includes one row per receipt and a link or reference to the original image. That way, if a bookkeeper, client, or tax preparer has a question, you can trace the number back to the source document without digging through folders.
- Sort by category to review spending patterns.
- Filter by date range for monthly or quarterly reporting.
- Filter by client or project for reimbursable expenses.
- Flag missing categories before sending records to your accountant.
If you share receipt data with someone else, agree on a cutoff date and file naming pattern. For example, send reviewed receipts every Friday or on the last business day of each month. Regular sharing prevents the dreaded shoebox sprint right before a deadline.
5. Common mistakes to avoid
The biggest mistake is waiting too long. Receipt organization gets harder as memory fades. A receipt from yesterday is easy to categorize. A faded receipt from three months ago might require a calendar search, bank statement check, or awkward guessing.
- Using vague categories: "Miscellaneous" should be rare. If it becomes a dumping ground, your reports lose value.
- Skipping duplicates: Email receipts and paper receipts can describe the same purchase. Mark duplicates before export.
- Ignoring tax and tip details: Meals, services, and travel receipts often include extra amounts that need clean capture.
- Mixing personal and business spending: Add notes or split entries so reports do not overstate business expenses.
- Changing category names midstream: Keep a category list and update old rows if you rename a category.
6. Build a weekly receipt routine
A weekly routine keeps categorized receipts current without turning bookkeeping into a daily chore. Set aside 15 to 30 minutes, upload anything new, review extracted fields, assign categories, and export or share the latest rows. If you handle a high volume of receipts, do this twice a week instead of letting the pile grow.
For small teams, assign one owner for the final review. Everyone can capture receipts, but one person should decide category rules and fix inconsistencies. This keeps the spreadsheet clean and prevents reports from turning into a debate about labels.
Organizing receipts by category is not about perfection. It is about making sure every expense has a clear place, every total can be checked, and every report is easier to trust. SlipSheet helps by turning receipts into structured spreadsheet-ready data, so you can spend less time sorting paperwork and more time using the numbers.
Ready to make receipt organization easier? Try SlipSheet to capture receipts, extract the details, and keep your expense categories ready for review.
FAQ
What is the best way to categorize receipts?
Use a short, consistent category list that matches how you report expenses, such as travel, meals, software, supplies, and utilities. Add project or client fields when category alone is not specific enough.
How often should I organize business receipts?
Weekly is a good rhythm for most small businesses and freelancers. High-volume teams may want to upload and review receipts two or three times per week.
Should I keep the original receipt image after exporting data?
Yes. Keep the receipt image or PDF linked to the spreadsheet row so you can verify the amount later if a bookkeeper, client, or tax preparer asks.
How many receipt categories do I need?
Most small businesses can start with 10 to 20 practical categories. Too many categories can slow down review and create inconsistent labels.
Can SlipSheet help organize receipts by category?
Yes. SlipSheet helps extract receipt details into spreadsheet-ready data, then you can review fields, assign categories, and export clean records.