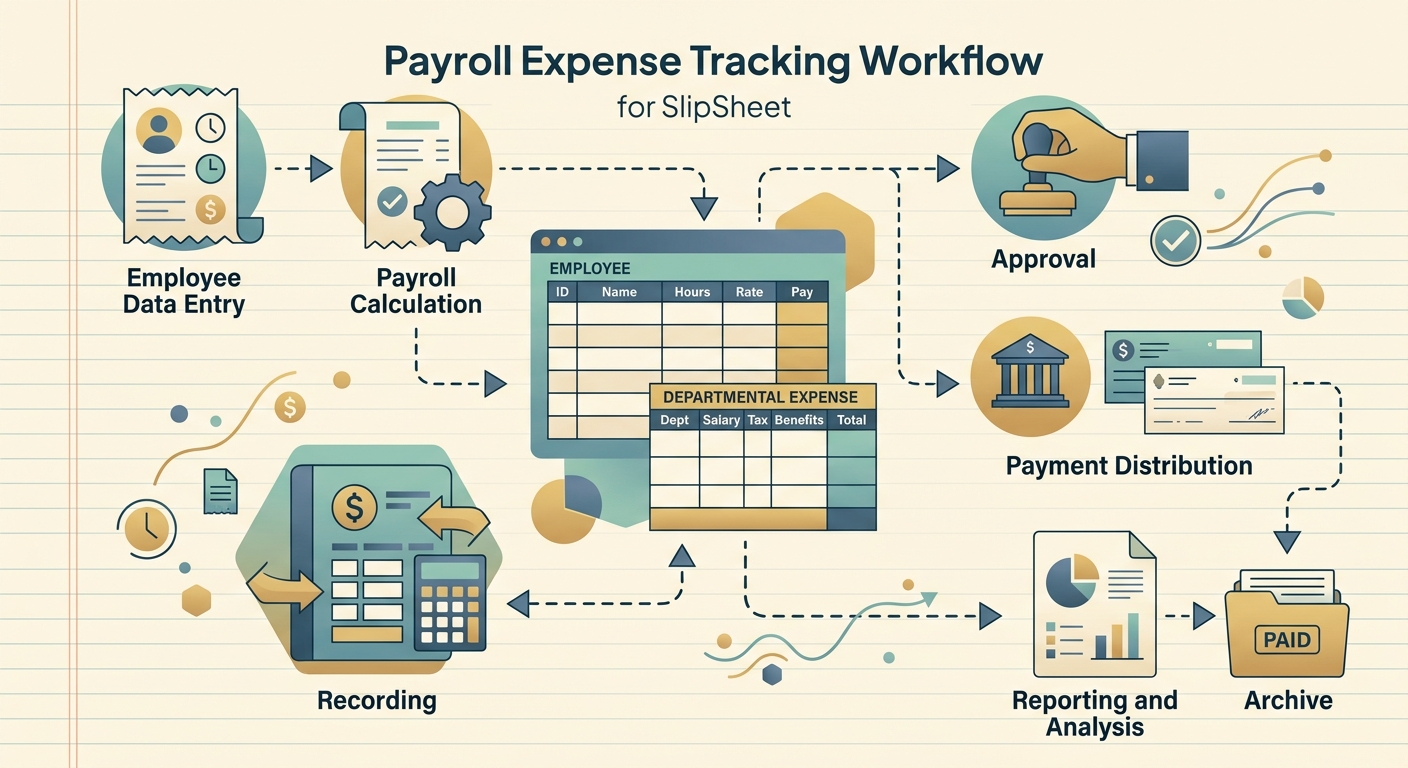
Payroll is one of the largest line items on a small business P&L, yet the expenses tied to it are often the hardest to track cleanly. Wages, contractor payments, payroll taxes, benefits, and reimbursements all flow through different accounts, show up on different documents, and need to land in the right bucket for monthly close. A repeatable payroll expense tracking workflow turns that mess into a one-hour task instead of a week-long scramble.
This guide walks through a four-phase workflow that takes you from a stack of receipts and a payroll export to an audit-ready spreadsheet, with categories that map cleanly to your chart of accounts.
Phase 1: Capture every payroll-related document
Before you can categorize, you need everything in one place. Pull in every document that touches payroll costs for the period:
- Wages and salaries from your payroll provider (Gusto, ADP, Paychex, Wave, or a manual log)
- Employer-side payroll taxes: Social Security, Medicare, federal and state unemployment (FUTA/SUTA)
- Contractor payments, including 1099-NEC amounts and any platform fees
- Benefits: health insurance premiums, retirement contributions (SEP-IRA, SIMPLE, 401k match), HSA contributions
- Reimbursements employees submitted: mileage, supplies, software, travel
- Payroll service fees and any per-run charges
Snap or scan each reimbursement receipt into a single capture stream. If you already use SlipSheet, forward emailed receipts, drop PDFs into the upload folder, or use the mobile camera; the workflow is the same whether you start with paper or digital. The goal of this phase is to remove the bottleneck of "where do I keep these things."
Phase 2: Extract and review the data fields
Once documents are captured, the next phase is converting them into structured rows. For each receipt or payroll entry, you need at minimum: date, vendor or payee, amount, tax amount (if applicable), payment method, and a category hint.
SlipSheet reads the printed fields directly, so the merchant name, date, total, and tax land in cells without retyping. For the payroll export itself, treat it as a second source: paste or import the CSV from your payroll provider and align the columns so each row matches one pay period or one payee.
Spend ten minutes reviewing the extracted rows. Look for:
- Receipts with missing or garbled OCR fields (poor scans, thermal paper fading)
- Duplicate entries where a reimbursement receipt and a payroll deduction both exist for the same expense
- Amounts that obviously belong to a different month (date mismatch on a late submission)
Fix these now; everything downstream depends on the review step.
Phase 3: Assign categories that match your chart of accounts
This is where payroll expense tracking actually becomes useful. Raw amounts do not roll up into anything meaningful until each row is tagged with the right category. A clean mapping for a typical small business looks like this:
- Wages & Salaries: gross pay to W-2 employees
- Contractor Payments: 1099-NEC amounts and platform fees
- Payroll Taxes: employer share of FICA, FUTA, SUTA
- Benefits: health, retirement match, HSA contributions
- Payroll Processing Fees: per-run charges from Gusto, ADP, etc.
- Reimbursable Expenses: employee-submitted mileage, travel, supplies
Tag each row in bulk where you can, and one-by-one where the line item is ambiguous. If a single receipt covers multiple categories (a hotel stay that includes meals, parking, and a room charge), split the row into two or three lines so each lands in the right bucket at month end.
Phase 4: Export to your accounting tool
The final phase is moving the categorized data into the system that produces your reports. Three common destinations:
- QuickBooks (Online or Desktop): export as a CSV with columns matching the Journal Entry import template, or push directly via the SlipSheet QuickBooks integration if you have it enabled.
- Google Sheets or Excel: keep one tab per month, with a summary tab that pulls totals by category via SUMIF. This works well for owners who review numbers themselves before sending to a bookkeeper.
- CSV to bookkeeper: if your bookkeeper runs the books, hand them a single CSV per period with a column header row that matches their import template. Most bookkeepers can read the file in under five minutes.
After export, reconcile the payroll-side totals against your bank or credit card statement for the period. The numbers should match to the cent; if they do not, the difference usually points to a misclassified row or a missed reimbursement receipt.
Getting started: a 30-minute setup
If you do not have a workflow today, do not try to build the full thing in an afternoon. Start with this minimum viable version:
- Open a new spreadsheet and create one tab per month for the current year.
- Create a category column using the six buckets above.
- Capture the next two weeks of payroll expenses as they happen, using SlipSheet for receipts and your payroll export for wages.
- Tag each row, total the categories at month end, and compare against last month.
After two cycles, the workflow becomes muscle memory and you can extend it to handle multi-state payroll, multiple entities, or accrual-basis accounting.
Common pitfalls
Three mistakes show up in nearly every small business payroll workflow:
- Mixing employee reimbursements with the wages line. A mileage reimbursement is not wages; it goes to a separate "Reimbursable Expenses" category so it does not inflate the W-2 box at year end.
- Forgetting the employer payroll tax match. The number on the paycheck stub is not the full payroll cost. Employer FICA, FUTA, and SUTA add roughly 7-10% on top of gross wages; if you forget them, your P&L understates real payroll expense.
- Letting contractor payments drift into a generic "office" category. 1099 contractors need their own line for year-end 1099-NEC filing. Lump them in with general expenses and you will spend January chasing the wrong total.
A reliable payroll expense tracking workflow is less about fancy software and more about consistent capture, clean categorization, and a single export path. Run it for two months and close will go from a headache to a routine.
SlipSheet can be the capture and review layer in your payroll workflow. Start a 14-day trial at slipsheet.app and run your next payroll cycle through it.
FAQ
What documents count as payroll expenses?
Beyond gross wages, payroll expenses include employer-side payroll taxes (FICA, FUTA, SUTA), benefits, contractor payments, and any reimbursements paid through payroll. Each gets its own category for clean reporting.
Do contractor payments belong in the payroll category?
Yes, but on a separate line from W-2 wages. Contractors paid via 1099-NEC should sit in their own category so year-end filing pulls the correct total without mixing with employee wages.
How often should I run the payroll expense workflow?
Capture as expenses happen; review weekly; export and reconcile at the end of each pay period or monthly. A 30-minute weekly check keeps the monthly close under an hour.
What is the fastest way to get payroll data into a spreadsheet?
Export a CSV from your payroll provider for the wages and tax lines, then use SlipSheet to capture and read the employee reimbursement receipts. Combine the two and tag each row by category.
Can I export this directly to QuickBooks?
Yes. Export the tagged spreadsheet as a CSV using the Journal Entry import format, or use the SlipSheet QuickBooks integration if enabled. Always reconcile the export totals against your bank statement for the period.