Project costs move quickly. A contractor buys materials on a card, a designer pays for stock assets, a team lead books a client lunch, and a field employee sends a photo of a receipt two weeks later. If those expenses land in a general inbox or a shoebox, project profitability becomes guesswork. A clear project cost tracking workflow keeps every receipt connected to the right job, client, phase, and spreadsheet row.
This guide walks through a practical workflow for small businesses, freelancers, and bookkeepers who need reliable project accounting without adding heavy enterprise software. The goal is simple: capture receipts fast, extract the important fields, review them before they hit the books, and export clean data to the tool you already use.
Capture receipts as soon as costs happen
The first phase is receipt capture. The best workflow is the one people can follow while they are busy, not the one that only works at month end. Ask every person who spends money on a project to submit receipts the same day whenever possible. That might mean uploading a PDF invoice, forwarding an email receipt, or snapping a photo from a phone.
For project cost tracking, consistency matters more than the capture method. Set a simple rule: every receipt must include the project name or code before it is considered complete. If your team uses job numbers, client names, event names, property addresses, or campaign codes, choose one format and stick with it.
- Use one shared intake process for all receipts and invoices.
- Ask submitters to add the project code at the time of upload.
- Separate reimbursable client costs from internal operating costs.
- Keep the original file attached or linked for audit support.
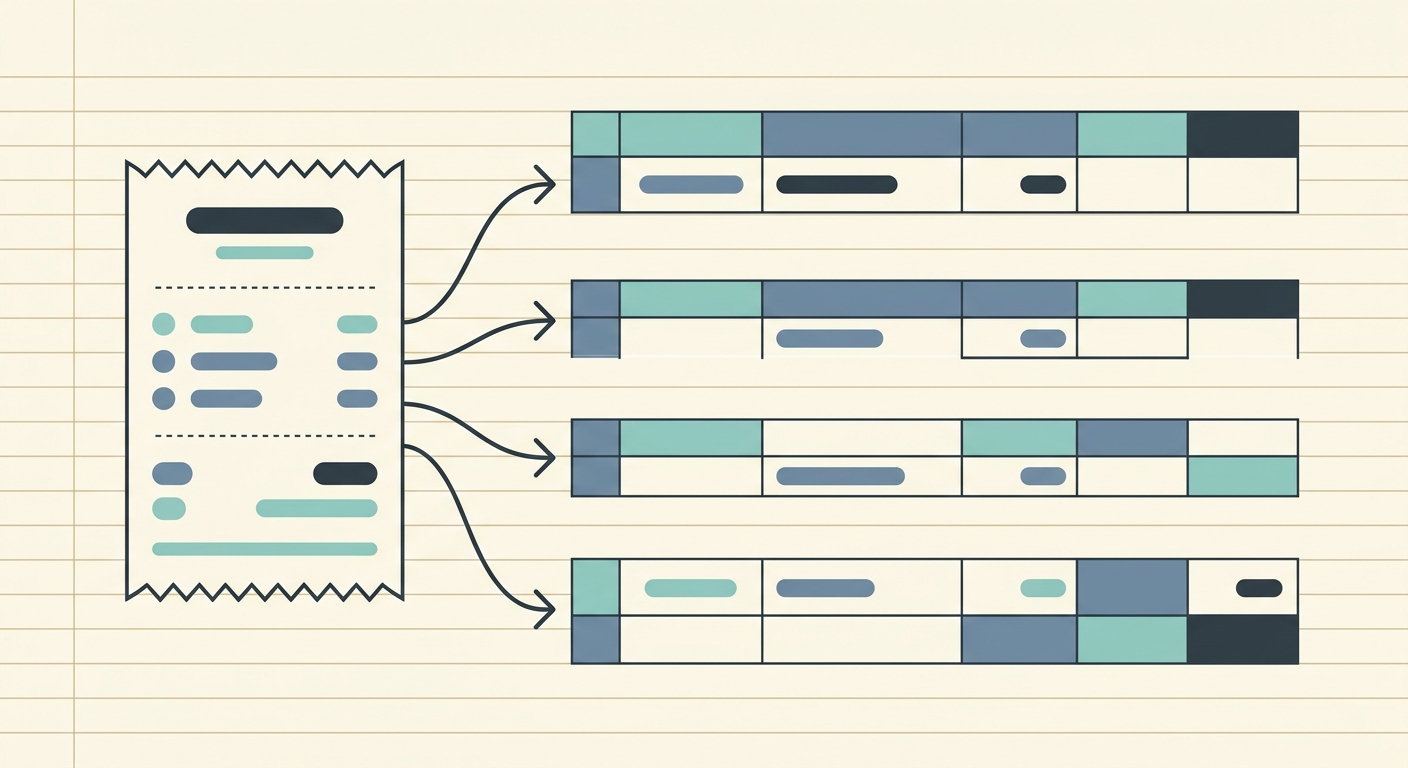
SlipSheet can help here by turning uploaded receipts into structured rows, which is useful when your final destination is a spreadsheet, accounting import, or project cost report.
Extract the fields that actually matter
Once receipts are captured, the next phase is extraction. Many teams overcomplicate this step by trying to collect every possible detail. For project tracking, focus on the fields that help you understand cost, timing, ownership, and margin.
A practical receipt extraction schema usually includes vendor, purchase date, total, tax, currency, payment method, project code, cost category, and notes. If your business bills expenses back to clients, add a reimbursable flag. If you track budgets by phase, add a phase field such as discovery, materials, production, delivery, or support.
- Extract vendor, date, subtotal, tax, tip if relevant, and total.
- Assign the receipt to a project, client, or job number.
- Add a category such as materials, travel, meals, software, subcontractor, or supplies.
- Mark whether the cost is billable, reimbursable, or internal.
- Keep a notes field for edge cases, split costs, or manager context.
The fewer fields you require, the more likely the workflow will be used. The key is to capture enough information to reconcile spending and understand profitability without forcing every receipt through a long manual form.
Review each receipt before it becomes project data
Extraction is helpful, but review is what keeps your records trustworthy. A short review step prevents bad project codes, duplicate receipts, missing tax amounts, and personal expenses from slipping into reports. This step can be handled by the bookkeeper, project manager, owner, or whoever owns the budget.
During review, compare the extracted receipt fields against the original image or PDF. Confirm that the amount is correct, the date is reasonable, and the project assignment makes sense. If a receipt covers more than one project, split the cost before exporting it. If the receipt is not business related, reject it or mark it for clarification.
- Check for duplicates from photo uploads and email forwards.
- Confirm that sales tax, tips, and fees are not accidentally missed.
- Review suspicious vendor names or unclear receipt images.
- Make sure reimbursable costs have the right client or project label.
This review step is also where teams can add lightweight controls. For example, any receipt over a certain amount can require manager approval before it is exported to the project cost file.
Export clean rows to your preferred tool
After review, export the approved receipt data to the place where project costs are managed. For many small teams, that place is still a spreadsheet. That is not a problem. A clean spreadsheet can be faster, clearer, and easier to customize than a complex accounting add-on, especially when you need to share project status with a client or team lead.
Your export should be predictable. Use the same column names every time, keep dates in one format, and avoid mixing project names with freeform notes. If you import into accounting software later, a consistent export saves cleanup time and reduces mapping errors.
- Export approved rows on a weekly schedule for active projects.
- Use separate columns for project, category, reimbursable status, and notes.
- Keep links to original receipt files whenever possible.
- Archive each export so you can reproduce past reports if needed.
SlipSheet is built for this spreadsheet-first workflow. You can extract receipt data, review it, and export rows that are easier to paste into Google Sheets, Excel, Airtable, or a bookkeeping import template.
Getting started with a simple project cost workflow
You do not need a full systems overhaul to start tracking project costs better. Begin with one active project and one receipt intake process. Create a standard list of categories, define the required fields, and decide who reviews the receipts before export. Then run the workflow for two weeks and look for friction.
A good starter spreadsheet can be very simple: receipt date, vendor, project code, category, subtotal, tax, total, reimbursable, payment method, receipt link, and notes. Add a summary tab that groups costs by project and category. This gives owners and project managers a quick view of budget burn without waiting for month-end bookkeeping.
Once the workflow works for one project, apply it to the rest of your active jobs. The goal is not perfection. The goal is to stop losing receipt data, reduce manual entry, and make project profitability visible while there is still time to act.
Common pitfalls to avoid
The biggest mistake is waiting until the end of the month to sort receipts. By then, people forget what a purchase was for, project codes are missing, and managers may already have made budget decisions with incomplete data. Capture and review costs while the context is fresh.
Another common pitfall is using too many categories. A giant category list looks organized, but it slows everyone down. Start with broad categories, then add detail only when it helps you make decisions. Also, avoid burying project codes in notes. Project assignment should be a dedicated field so you can filter, summarize, and export reliably.
If your team is still typing receipts into spreadsheets by hand, try SlipSheet to turn receipt uploads into structured data you can review and export. Start at slipsheet.app and build a project cost tracking workflow that fits the way your business already works.
FAQ
What is a project cost tracking workflow?
It is a repeatable process for capturing receipts, assigning them to projects, reviewing the data, and exporting costs to your accounting or spreadsheet system.
What fields should I track for project receipts?
Track vendor, date, total, tax, project code, cost category, payment method, reimbursable status, and a link to the original receipt.
How often should project costs be reviewed?
For active projects, weekly review is usually enough to catch missing receipts, budget overruns, and coding mistakes before they become month-end cleanup work.
Can I track project costs in a spreadsheet?
Yes. A well-structured spreadsheet is often the fastest option for small teams, especially if receipt data is extracted into consistent rows first.
How does SlipSheet help with project cost tracking?
SlipSheet extracts receipt details into structured data so you can review, categorize, and export clean rows for project accounting workflows.