Streamlining Your Receipt to Airtable Workflow with SlipSheet
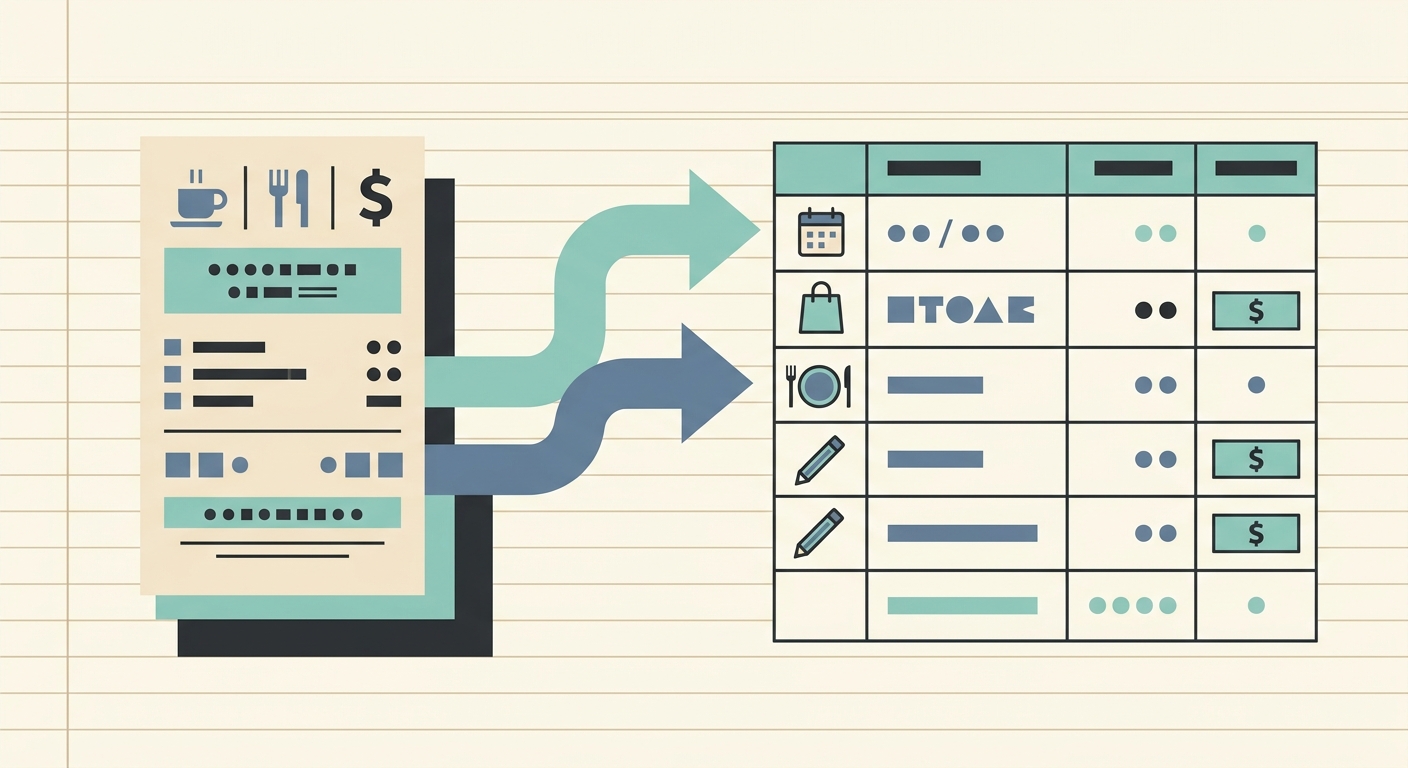
In today's fast-paced world, managing expenses and keeping financial records organized is more crucial than ever for businesses and individuals alike. Manual data entry of receipts into spreadsheets or databases is a time-consuming, error-prone task that can quickly become a bottleneck. This is particularly true for users of Airtable, a powerful relational database that thrives on structured, accurate data. Imagine a world where your physical and email receipts effortlessly transform into perfectly formatted rows in your Airtable base. This is the promise of an optimized receipt to Airtable workflow, a process made seamless and efficient with tools like SlipSheet.
An effective receipt to Airtable workflow not only saves countless hours but also enhances data accuracy, provides real-time financial insights, and simplifies tax preparation or expense reporting. By automating the capture, extraction, and transfer of receipt data, you can focus on analysis and decision-making rather than tedious data input. Let's explore how to build and maintain such a workflow, leveraging the capabilities of SlipSheet to bridge the gap between your receipts and Airtable.
Getting Started: The Foundation of Your Airtable Receipt System
Before you begin importing receipts, establishing a well-structured Airtable base is paramount. A solid foundation ensures that your data is organized, searchable, and useful for reporting. Consider these steps to set up your base:
- Create a Dedicated Base: Start with a new base in Airtable, perhaps named "Expense Tracking" or "Receipt Management."
- Define Key Fields: Populate your primary table, for instance named "Receipts," with essential fields. Common fields include: "Date" (Date field), "Vendor" (Single line text), "Amount" (Number field, currency format), "Category" (Single select or Linked record to a "Categories" table), "Payment Method" (Single select), "Description/Notes" (Long text), "Attachment" (Attachment field for the original receipt image), and "Status" (Single select, e.g., "New," "Reviewed," "Exported").
- Consider Linked Tables: For more advanced tracking, you might link your "Receipts" table to other tables like "Projects," "Clients," or "Departments." This adds a layer of relational data, allowing for richer analysis.
- Set Up Views: Create different views, such as "Uncategorized Receipts," "Monthly Expenses," or "Expenses by Project," to quickly access specific data sets.
Properly configuring your Airtable base will make the integration with SlipSheet incredibly smooth, ensuring that extracted data lands precisely where it needs to be.
Phase 1: Capturing and Uploading Your Receipts
The first step in any efficient receipt to Airtable workflow is reliably capturing your receipts, regardless of their original format. SlipSheet offers flexible options to ensure no receipt is left behind:
- Physical Receipts: For paper receipts, simply use your smartphone to take a clear photo. SlipSheet's mobile-friendly interface allows you to upload these images directly, often with instant processing. High-quality photos are key for accurate data extraction, so ensure good lighting and focus.
- Digital and Email Receipts: Many transactions now generate digital receipts sent via email. SlipSheet provides an easy way to forward these emails directly to a dedicated address, where the system automatically processes the attached receipts or extracts information from the email body itself. This eliminates the need for manual downloading and uploading.
- Batch Processing: If you accumulate several receipts throughout the day or week, SlipSheet allows for batch uploads. You can upload multiple images or forward several emails at once, streamlining the initial data entry phase.
This initial capture phase is critical. By making it simple and accessible, SlipSheet ensures that you consistently feed your system with the raw data needed for your Airtable base.
Phase 2: Automated Extraction and Reviewing Data with SlipSheet
Once your receipts are captured, SlipSheet's powerful optical character recognition, OCR, and AI capabilities spring into action. This is where the magic of transforming unstructured receipt data into structured information truly happens, a core component of your receipt to Airtable workflow.
- Intelligent Data Extraction: SlipSheet automatically identifies and extracts key information from your receipts, including the vendor name, transaction date, total amount, taxes, and often even line-item details. This eliminates the manual typing that traditionally consumes so much time.
- The Importance of Review: While automation is incredibly powerful, a quick human review step is invaluable for ensuring 100% accuracy. SlipSheet presents the extracted data in an intuitive interface, allowing you to easily compare it against the original receipt image.
- Quick Corrections: If any detail is misidentified or missing, SlipSheet makes it simple to make corrections directly within the application. You can highlight text on the receipt image to populate fields or manually type in missing information. This iterative process improves the system's learning over time, enhancing future extraction accuracy.
This phase significantly reduces the manual effort involved, transforming your raw receipt images into clean, actionable data ready for categorization.
Phase 3: Categorizing and Tagging for Enhanced Organization
After data extraction and review, the next crucial step in your receipt to Airtable workflow is to add context through categorization and tagging. This makes your data meaningful and useful for analysis, reporting, and integration with your Airtable setup.
- Assigning Categories: Within SlipSheet, you can assign predefined categories to each expense, such as "Travel," "Office Supplies," "Meals & Entertainment," or "Utilities." These categories should ideally align with the "Category" field you set up in your Airtable base, ensuring consistency.
- Adding Custom Tags: Beyond standard categories, SlipSheet allows you to add custom tags. These are incredibly useful for segmenting expenses by specific projects, clients, departments, or even tax-deductible status. For example, a receipt could be tagged "Project X" and "Client Y."
- Preparing for Airtable's Structure: By categorizing and tagging within SlipSheet, you are effectively pre-processing your data. When exported, these fields will seamlessly map to your corresponding single-select, multi-select, or linked record fields in Airtable, maintaining the integrity and structure of your database.
- Learning and Automation: SlipSheet often learns from your previous categorizations, suggesting categories for similar future receipts, further accelerating the workflow.
This contextualization step transforms raw numbers into insightful data points, ready for comprehensive management in Airtable.
Phase 4: Seamless Export to Your Airtable Base
The final and most anticipated step in your optimized receipt to Airtable workflow is the smooth transfer of your processed data directly into your Airtable base. SlipSheet offers several flexible methods to achieve this integration:
- Direct Integration (if available): Some versions or integrations of SlipSheet might offer direct, one-click export to Airtable. This is the most straightforward method, pushing data from SlipSheet fields directly into your pre-mapped Airtable columns.
- CSV Export and Import: A universally compatible method involves exporting your processed receipts from SlipSheet as a CSV file. You can then easily import this CSV into your Airtable table, mapping the columns to your existing fields during the import process. This provides excellent control over field matching.
- Zapier or Similar Automation Tools: For a truly automated and real-time workflow, consider using integration platforms like Zapier. You can set up a "Zap" where a new processed receipt in SlipSheet triggers an action to create a new record in your specified Airtable base. This eliminates manual export and import, making your workflow hands-free.
- API Integration: For developers or those with specific needs, SlipSheet's API, if available, can be leveraged to build custom integrations that push receipt data directly into Airtable with tailored logic and automation.
Whichever method you choose, the goal is to ensure that your clean, categorized receipt data populates your Airtable base accurately, allowing you to leverage Airtable's powerful features for analysis, reporting, and collaboration.
Common Pitfalls and How to Avoid Them
While an automated receipt to Airtable workflow offers immense benefits, being aware of common challenges can help you maintain a smooth and accurate system:
- Poor Photo Quality: Blurry, dark, or incomplete photos hinder OCR accuracy. Always ensure receipts are well-lit, flat, and fully visible when taking pictures.
- Inconsistent Categorization: Using different category names for the same type of expense will fragment your data in Airtable. Establish a consistent list of categories and stick to them, ensuring they align with your Airtable single-select options.
- Ignoring the Review Step: Over-reliance on automation without verification can lead to errors propagating into your Airtable base. A quick review in SlipSheet ensures data accuracy before export.
- Incorrect Airtable Field Setup: Mismatched field types or names between SlipSheet's output and your Airtable columns can cause import failures or data corruption. Double-check your Airtable base structure and field mapping during setup.
- Lack of a Consistent Workflow: Sporadic receipt capture or infrequent data processing can lead to a backlog, defeating the purpose of an efficient system. Establish a routine, whether daily or weekly, for processing receipts.
By proactively addressing these potential issues, you can maintain a robust and reliable receipt management system.
An optimized receipt to Airtable workflow is a game-changer for anyone looking to reclaim time and gain better control over their financial records. By integrating a smart tool like SlipSheet into your process, you transform the once-dreaded task of receipt management into an efficient, accurate, and almost effortless operation. From initial capture to final categorization and export, SlipSheet empowers you to maintain a pristine Airtable database, ready for insightful analysis and seamless reporting.
Ready to revolutionize your expense tracking? Visit slipsheet.app today to discover how SlipSheet can elevate your receipt to Airtable workflow.
FAQ
What is SlipSheet?
SlipSheet is a powerful tool designed to transform receipt photos and email receipts into structured spreadsheet rows. It automates the extraction of key data like vendor, date, and amount, making expense management significantly easier.
How does SlipSheet integrate with Airtable?
SlipSheet can integrate with Airtable through various methods, including CSV export for manual import, or automated solutions like Zapier. This allows processed receipt data to be directly transferred into your Airtable base, mapping to your defined fields.
Can I process multiple receipts at once?
Yes, SlipSheet supports batch processing, allowing you to upload multiple receipt photos or forward several email receipts simultaneously. This feature significantly speeds up the data entry process for accumulated expenses.
What data can SlipSheet extract from receipts?
SlipSheet leverages OCR and AI to extract essential information such as the vendor name, transaction date, total amount, currency, and often tax details. It aims to provide comprehensive data points for your expense tracking needs.
Is SlipSheet suitable for both personal and business expenses?
Absolutely, SlipSheet is versatile and beneficial for anyone needing to track expenses, whether for personal budgeting, freelance accounting, or managing business expenditures. Its flexible categorization and export options cater to a wide range of uses.