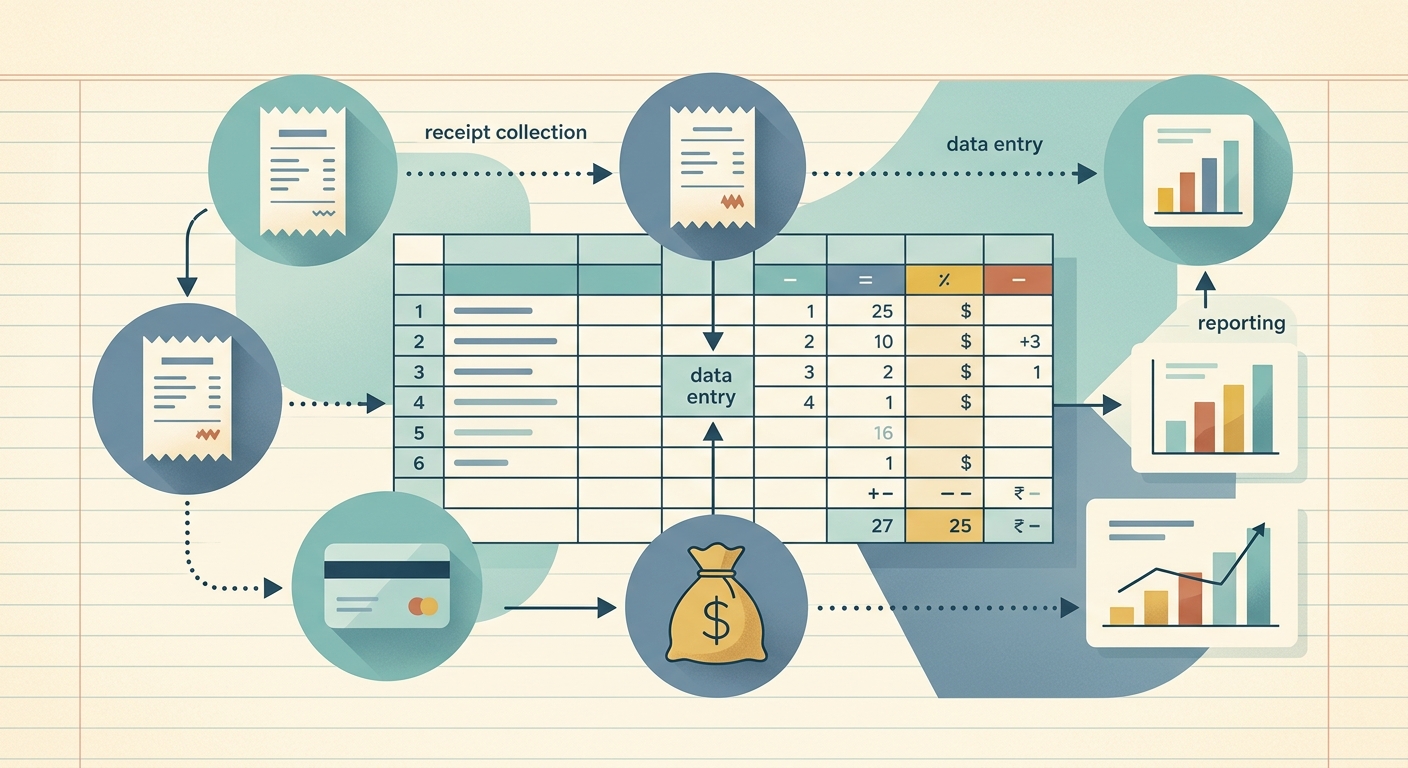
When you launch a startup, every dollar counts and every receipt matters. The problem is that founders spend more time chasing paper, photographing receipts, and retyping totals into a spreadsheet than they spend actually running the business. A repeatable startup expense tracking workflow fixes that. It moves from "I'll log it later" to "it's already logged" in under a minute, and it gives your bookkeeper or accountant a clean ledger from day one.
This guide walks through the four phases of a startup-friendly expense workflow: capture, extract, review, and export. It also covers the setup decisions you should make in the first week, the common pitfalls that blow up audit trails, and a checklist you can copy into your operations doc today.
Phase 1: Capture every receipt the moment it happens
The capture phase is the one founders skip most often. They promise themselves they will "scan it later," then the receipt ends up at the bottom of a backpack or, worse, in the laundry. The fix is to make capture take less than five seconds.
- Photograph the receipt the moment you pay. Use your phone camera or a dedicated scanner; either works as long as the image is legible.
- Forward digital receipts (Stripe, AWS, Notion, Linear, Figma) to a single inbox so they end up in one queue.
- For in-person card swipes, photograph the printed receipt before it fades. Thermal paper fades within weeks in a wallet.
- Drop everything into one tool that reads the receipt automatically. SlipSheet accepts photos, PDFs, and forwarded email receipts and turns them into spreadsheet rows.
The rule is simple: if a receipt exists, it goes into the workflow before you close the laptop or step away from the register.
Phase 2: Extract clean fields without retyping
Once the receipts are in the queue, the next phase is extraction. This is where most teams waste hours. They open each image, read the merchant and total, and type them into a spreadsheet row by row. Multiply that by 40 receipts a month and you have lost a full workday.
An automated extract step reads the merchant name, transaction date, subtotal, tax, and total from each image and writes them into a structured row. The fields you want are:
- Merchant (who you paid)
- Date (when the expense happened, not when you scanned it)
- Category hint (software, travel, meals, office, marketing)
- Subtotal, tax, and total as separate columns
- Currency, especially if you pay international vendors
SlipSheet does this in a few seconds per receipt, with multi-page PDFs handled in a single pass. You should not have to rekey a single total if your tool is set up correctly.
Phase 3: Review and categorize before month-end
Extraction gets the data into a spreadsheet. Review is where you turn raw rows into an audit-ready ledger. The review step should happen weekly, not quarterly, because backlogs compound.
- Open the spreadsheet and skim the new rows. Confirm the merchant and date look right.
- Assign a category. A simple taxonomy works fine for a startup: software, hardware, travel, meals, marketing, office, professional services, miscellaneous.
- Flag anything that needs a note: a mixed personal-business charge, a vendor you want to expense differently, a duplicate you need to suppress.
- Move the row from "pending" to "ready." Your review queue should be empty by Friday each week.
A weekly review habit is the difference between a startup that closes the books in two days and one that takes three weeks every quarter. The shorter your review cycle, the fewer judgment calls pile up.
Phase 4: Export to your accounting tool and lock the period
The final phase is export. Once rows are reviewed, push them into your accounting system so the books match reality. For most early-stage startups, that means one of three destinations:
- Google Sheets or Excel, if you are pre-accountant and want a clean handoff later.
- QuickBooks or Xero, if you already have a bookkeeper on retainer.
- A CSV export emailed to your accountant once a month, if you are running lean.
SlipSheet exports to all three: CSV, Google Sheets, and direct accounting integrations. The format matters less than the consistency. Pick one destination, push every reviewed row to it, and never let a reviewed expense sit in limbo.
Getting started in your first week
You do not need a finance team to set this up. The first week is about building the muscle:
- Day 1: Create a single shared inbox for receipts and a single spreadsheet with the column headers above.
- Day 2: Sign up for SlipSheet and forward ten of your most recent receipts to it.
- Day 3: Review the extracted rows and fix any fields that came through wrong. This calibrates the tool on your vendors.
- Day 4: Pick your export destination and push the reviewed rows into it.
- Day 5: Document the workflow in your ops doc so future hires follow it.
By the end of week one, you have a system that runs on autopilot for the long run.
Common pitfalls that break startup expense workflows
Most expense workflows die for the same five reasons. Watch for them:
- No single inbox. Receipts end up in text messages, email, and camera rolls. Pick one inbox.
- Monthly reviews instead of weekly. A backlog of 80 receipts is a project. A backlog of 15 is a Friday afternoon.
- Mixing personal and business cards. Decide a policy upfront and stick to it; reimbursements get messy fast.
- No category taxonomy. "Miscellaneous" eats your P&L. Eight categories are enough.
- Skipping export. A spreadsheet nobody reads is a graveyard. Push rows to your accounting tool weekly.
Fix those five and your startup expense tracking workflow will scale from solo founder to twenty-person team without changing the process.
If you want to skip the spreadsheet setup and start logging receipts today, SlipSheet handles capture, extraction, review, and export in one workflow. Forward a receipt and the row appears in your sheet within seconds; export to QuickBooks when you are ready to close the month.
FAQ
How long does a startup expense tracking workflow take to set up?
Most founders have a working workflow in under a week: one day to set up the inbox and spreadsheet, three to five days to calibrate the receipt scanner on real receipts, and one day to pick the export destination.
Do I need a bookkeeper to run this workflow?
No. The workflow is designed for solo founders and small teams without finance staff. You can run it yourself until your monthly expenses cross roughly 200 line items, then hand the clean spreadsheet to a bookkeeper.
How often should I review expense rows?
Weekly. A Friday afternoon review of 10 to 20 rows takes minutes; a monthly review of 80 rows turns into a project and judgment calls pile up.
Can SlipSheet export directly to QuickBooks or Xero?
Yes. SlipSheet exports to CSV, Google Sheets, and direct accounting integrations including QuickBooks and Xero, so reviewed rows push to your books with a single click.
What categories should a startup use for expenses?
Eight categories cover most early-stage startups: software, hardware, travel, meals, marketing, office, professional services, and miscellaneous. Resist the urge to add more until you outgrow these.