Vendor payments get messy when bills, receipts, email confirmations, ACH notices, and card charges live in different places. A simple vendor payment tracking workflow gives you one repeatable path from document capture to spreadsheet review, so you can see what was paid, what is still pending, and what needs follow-up before month-end.
This workflow is built for small business owners, freelancers, bookkeepers, and lean finance teams that do not want a heavy accounts payable system. The goal is practical control: collect the documents, extract the important fields, review them while the details are fresh, then export clean data to the tool you already use.
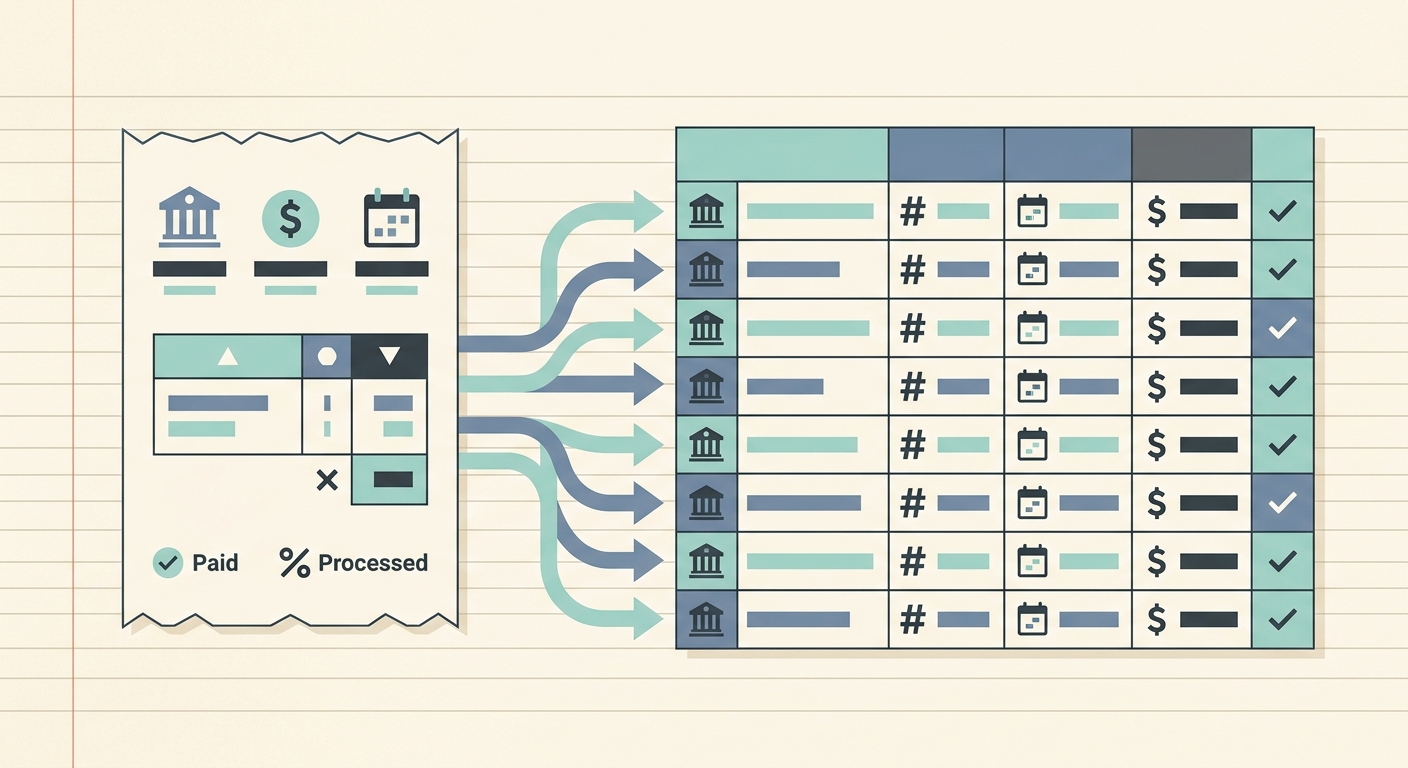
Capture every vendor payment document
The workflow starts with capture. Before you can track vendor payments reliably, you need a consistent place to gather the proof behind each payment. That proof might be a vendor invoice, a receipt from a card charge, a payment confirmation email, a PDF statement, or a screenshot from a supplier portal.
Set one rule for your team or yourself: every vendor payment document should be uploaded or forwarded before it is filed away. If you wait until reconciliation, you will spend time digging through inboxes and bank feeds. If you capture documents as they arrive, payment tracking becomes a quick review task instead of a detective project.
- Save invoices and receipts as soon as they arrive.
- Use a consistent naming pattern when possible, such as vendor, date, and amount.
- Keep payment confirmations with the related invoice or receipt.
- Do not rely only on your bank feed, since it often lacks invoice numbers and categories.
SlipSheet helps at this stage by giving you a fast way to upload receipts and payment documents, then turn them into structured rows. That means the capture step leads directly into usable tracking data instead of another folder of PDFs.
Extract the payment fields that matter
Once documents are captured, the next phase is extraction. You do not need every bit of text from a receipt or invoice. For vendor payment tracking, focus on the fields that help you answer practical questions later.
At minimum, extract the vendor name, transaction date, payment amount, tax, payment method, invoice number, category, and any memo or project tag. If you manage recurring vendors, add a field for payment period or service month. If you work with clients, add a reimbursable flag so you can separate internal costs from billable expenses.
The main benefit of extraction is consistency. A supplier might write dates one way on invoices and another way on receipts. A card statement might shorten the vendor name. A human might forget whether a software payment belongs under subscriptions, operations, or client tools. A structured workflow reduces those tiny inconsistencies before they become spreadsheet cleanup work.
Review extracted fields before export
Extraction is useful, but review is where accuracy improves. Build a short review step into your vendor payment tracking workflow before you export anything. The best time to review is soon after capture, while you still remember why the purchase happened and whether it belongs to a client, project, or internal category.
During review, check for four things: vendor identity, amount, date, and category. These are the fields most likely to affect reporting, cash flow review, and tax preparation. If the invoice includes tax, shipping, discounts, or partial payments, confirm that the total matches the actual payment record.
- Open the extracted row next to the original document.
- Confirm the vendor name is recognizable and consistent.
- Check the date against the invoice date or payment date, depending on how you track expenses.
- Verify the amount, tax, and currency.
- Add the correct category, tag, project, or client note.
This review does not need to be slow. For most small businesses, a few minutes each week is enough. The important part is making review a scheduled habit, not an emergency cleanup at tax time.
Export to your preferred accounts payable tool
After review, export the data to the system where you manage books, reports, or payment status. For some teams, that is a spreadsheet. For others, it is accounting software, a shared finance tracker, or an accounts payable workbook maintained by a bookkeeper.
Spreadsheet-first teams often prefer a clean CSV because it is easy to inspect, filter, and import. You can add columns for paid status, due date, approval owner, reimbursement status, or bank transaction match. You can also build pivot tables by vendor, category, month, or project without forcing your whole process into a large accounting platform.
SlipSheet fits this export step by turning receipt and invoice data into spreadsheet-ready rows. Instead of copying fields from PDFs by hand, you can review the extracted data, then move it into the tool that already runs your workflow.
Getting started with a simple weekly routine
If your current vendor payment process is scattered, start with a weekly routine. Pick one day each week to capture any missing documents, review extracted fields, and export the latest rows. A short routine is easier to maintain than a complicated system that only gets used when things are already behind.
Here is a simple weekly flow:
- Collect vendor invoices, receipts, and payment confirmations from the week.
- Upload the documents to SlipSheet or your capture tool.
- Review extracted vendor, date, amount, tax, and category fields.
- Add tags for client, project, reimbursement, or payment status.
- Export the reviewed rows to your spreadsheet or accounts payable tracker.
- Reconcile against your bank or card feed if needed.
Once the weekly routine feels stable, you can add more detail. For example, you might track due dates for unpaid invoices, flag duplicate payments, or separate recurring software vendors from one-time supplier purchases.
Common pitfalls to avoid
The biggest mistake is treating vendor payment tracking as a month-end task. By then, the details are harder to remember, missing documents take longer to find, and small categorization errors can spread across multiple reports.
Another common problem is tracking only payments, not the documents behind them. A bank line item may show that money left the account, but it rarely explains what the payment covered, whether tax was included, or which project it belonged to. Keep the source document connected to the row whenever possible.
Finally, avoid overbuilding the workflow. You do not need a complex approval system if you are a solo operator or small team. Start with capture, extraction, review, and export. Add approval steps, status fields, and custom categories only when they solve a real problem.
If you want a faster way to turn vendor receipts and invoices into clean spreadsheet rows, try SlipSheet. It helps you capture documents, review extracted fields, and export organized data for your accounts payable workflow.
FAQ
What is a vendor payment tracking workflow?
It is a repeatable process for capturing vendor documents, extracting payment details, reviewing the data, and exporting it to your accounting or spreadsheet system.
Which fields should I track for vendor payments?
Track vendor name, date, amount, tax, payment method, invoice number, category, status, and any project or client tag that helps with reporting.
Can I use a spreadsheet instead of accounts payable software?
Yes. Many small businesses can manage vendor payment tracking with a clean spreadsheet, especially when receipt and invoice data is extracted before export.
How often should I review vendor payment records?
A weekly review is usually enough for small teams. It keeps documents fresh, reduces missing details, and makes month-end reconciliation easier.
How does SlipSheet help with vendor payment tracking?
SlipSheet turns uploaded receipts and invoices into structured rows, so you can review key fields and export clean data to your preferred workflow.