Year end is the one stretch of the year when bookkeeping stops being background work and becomes the main event. Receipts from January resurface, expenses you forgot to log in March come back to haunt your bank reconciliation, and every contractor 1099 needs to be defensible before January 31. A clean year end bookkeeping workflow turns that chaos into a checklist you can move through without panic, even if you have not touched your books in weeks.
The goal of a year end workflow is not perfection. It is a defensible close: every receipt captured, every category assigned, every export delivered to whoever files the return. The four phases below cover capture, extract, review, and export, with a short getting-started checklist and a list of common pitfalls small business owners hit most often.
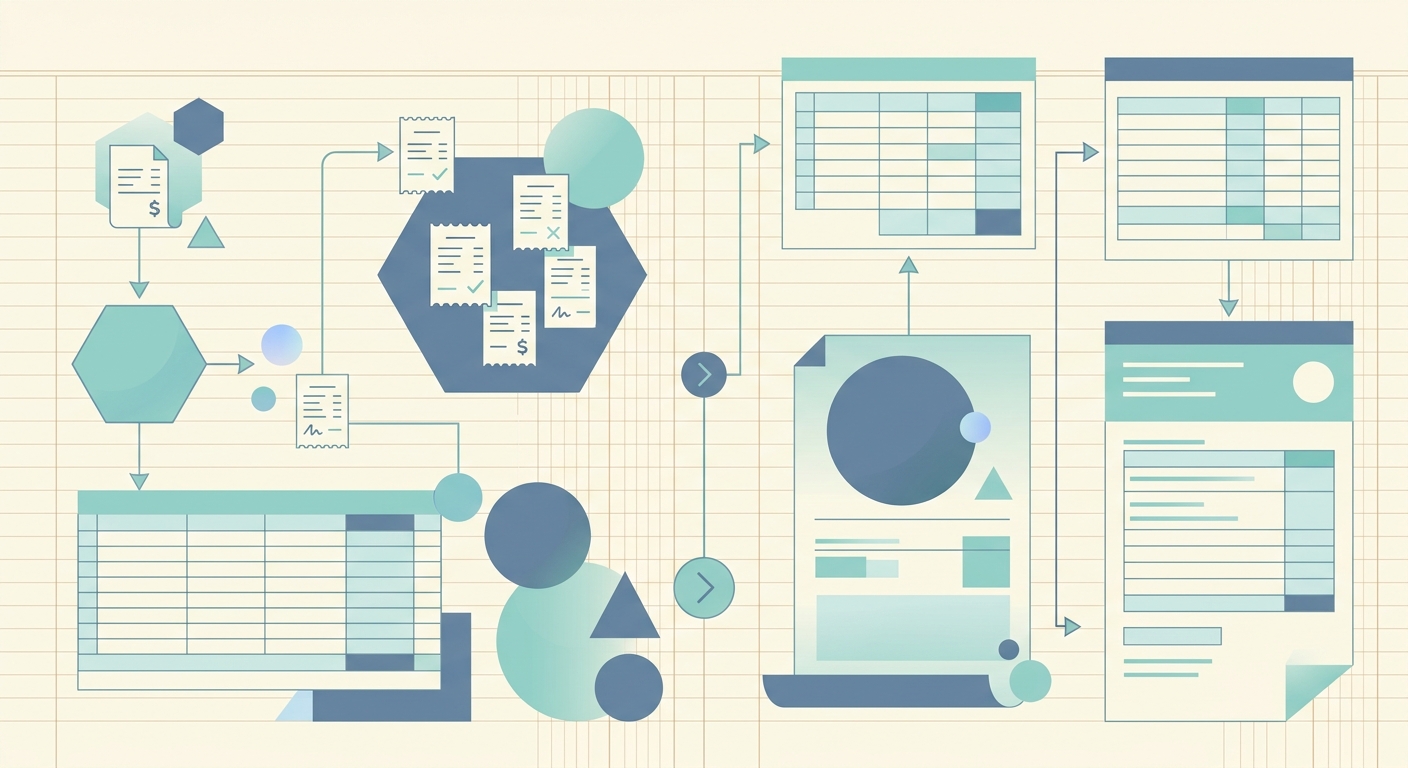
Phase 1: Capture every receipt and document
Start by gathering everything that touched money during the year. Bank statements from every business account, credit card statements, PayPal and Stripe exports, a full year of receipts, invoices issued, and any 1099s you received or expect to issue. If you use a point-of-sale system, pull a sales report by month. If you have a separate payroll account, grab the year-to-date payroll summary.
The single biggest source of year end pain is missing receipts. A quick way to close the gap: open your bank and credit card statements and search for the largest transactions, then check that you have a matching receipt or invoice for each one. Anything missing is either reconstructed from the statement, or it stays in a "needs review" pile for your bookkeeper or CPA.
This is also the moment to switch from manual entry to a receipt capture app. Tools like SlipSheet let you snap a photo or upload a PDF and get a structured row back with vendor, date, amount, and tax in seconds. Doing this in one focused session beats dribbling receipts in one at a time across the year.
Phase 2: Extract and verify the data
Once receipts are captured, the next phase is extraction. For paper receipts, OCR (optical character recognition) does the heavy lifting. For digital receipts, the merchant usually sends a clean PDF or HTML version. Either way, the goal is the same: turn an image or PDF into a row with date, vendor, total, tax, and category fields you can edit.
Verification is the part most people skip, and it is the part that makes the difference between a defensible close and a tax-time scramble. Open every row, confirm the date is correct, confirm the amount matches the source document, and confirm the tax line is broken out where your jurisdiction requires it. If you have hundreds of receipts, batch this work by vendor: verify all Amazon rows together, all Office Depot rows together, and so on. Vendor batching makes anomalies obvious.
Pay extra attention to receipts that mix personal and business spending, and to subscriptions that auto-renewed at the wrong tier. Both are common at year end and both are easy to mis-categorize if you scan the data too fast.
Phase 3: Categorize and reconcile
Categorization is where the workflow turns into useful reports. Every row should land in a chart of accounts line that your tax preparer recognizes: office supplies, software subscriptions, travel, meals (often 50% deductible), contractor payments, rent, utilities, insurance, and so on. If you have not already, set up a tag or class structure for client work, project codes, or departments. That extra dimension pays off when you want to know which client cost the most last year.
Reconciliation is the part where your books meet the bank. Pull the year-end bank balance for every account, then walk the difference between the bank statement and your books. Anything in the books but not in the bank is either a timing issue (a check that has not cleared) or a mistake. Anything in the bank but not the books is a missed transaction. The reconciled difference should be zero, or close enough to explain.
This is also when you confirm 1099 thresholds. In the US, any contractor paid $600 or more in a year generally needs a 1099-NEC. Cross-check your contractor list against the year of payments and flag anyone who crossed the threshold but did not get a W-9 on file. January 31 is the filing deadline, and chasing missing W-9s in February is the kind of delay that costs late-filing fees.
Phase 4: Export and close the books
The final phase is export. Most tax preparers want a year-end trial balance, a profit and loss, a balance sheet, and a general ledger export. CSV is the lowest common denominator, but many bookkeepers prefer QuickBooks-compatible IIF or QBO files. If you use a real-time tool, your tax preparer may be able to log in as a read-only user and skip the export entirely.
When the export is delivered, close the books. Lock the year in your accounting software so no one can accidentally add a 2025 transaction in March 2026. Archive the source documents, the export files, and the reconciliation report together in a single folder named by year, not by month. Future-you will thank present-you when next year's close starts.
Getting started checklist
- Gather all bank, credit card, and payment processor statements for the year
- Pull every receipt, invoice, and 1099 into a single folder or capture queue
- Run OCR or upload to a structured tool like SlipSheet to extract fields
- Verify dates, amounts, and tax on every row, batched by vendor
- Categorize each row into your chart of accounts, adding tags or classes where useful
- Reconcile every bank and credit card account to the year-end balance
- Cross-check contractor payments against 1099 thresholds and W-9s on file
- Export trial balance, P&L, balance sheet, and general ledger for your tax preparer
- Lock the year in your accounting software and archive the source documents
Common pitfalls to avoid
- Waiting until December 31 to start. Year end work runs smoother when the books are caught up monthly; a mid-December pass-through cuts the December crunch in half.
- Mixing personal and business spending. A shared Amazon account or a personal card used for one business dinner can quietly inflate your deductions and trigger questions at filing time.
- Skipping the verification step. OCR is not perfect. A wrong decimal place on a single large invoice is the kind of error that can shift a tax bracket or trigger a notice.
- Forgetting to lock the year. If the books stay open, a stray January transaction can quietly land in last year's totals, and your accountant will find it before you do.
- Chasing perfection over defensibility. A 99% complete close on time is worth more than a 100% complete close in March. Make reasonable estimates, document them, and move on.
A repeatable year end bookkeeping workflow turns a stressful sprint into a routine you actually finish on time. SlipSheet fits into Phase 1 and Phase 2: capture receipts in any format, get clean structured rows back, and verify them in one pass. The rest of the workflow is yours. Start your year end close at slipsheet.app.
FAQ
When should I start my year end bookkeeping workflow?
Most small businesses benefit from a soft pass-through in early December, then the full close between December 26 and January 15. The earlier you start, the less likely you are to chase missing receipts in February.
Do I need to keep paper receipts, or are digital copies good enough?
In the US, the IRS accepts digital copies of receipts as long as they contain the same information as the paper version and the system can produce a legible copy on request. A clear PDF or photo works for most audit situations.
What is the 1099 threshold for contractors?
In the US, the threshold for issuing a 1099-NEC is generally $600 in a calendar year, though rules vary by payment type and the threshold is scheduled to change. Always check current IRS guidance for the year you are closing.
Can I close my books if some transactions are missing receipts?
Yes, as long as the amounts are supported by a bank or card statement and you mark the missing receipt clearly. Document your assumptions and resolve any truly undocumented items with your CPA before filing.
How long should I keep year end bookkeeping records?
The IRS generally requires three years of records from the filing date, but seven years is safer if there is a risk of substantial understatement. Keep digital copies in a single year-named folder for fast retrieval.