A reimbursable expense template gives your team one consistent place to record business costs that should be paid back. It is useful for mileage, client meals, supplies, travel, software purchases, postage, and any other approved expense that someone paid for personally. The goal is simple: capture the right details once, attach proof, approve the claim, and reimburse it without hunting through email threads or guessing what belongs in the books.
For small businesses, freelancers, and bookkeepers, the best template is not complicated. It should make each expense easy to review, easy to export, and easy to match against payments. SlipSheet helps by turning receipts and expense notes into structured spreadsheet rows, so the template becomes a live workflow instead of another file that people forget to update.
What the template is
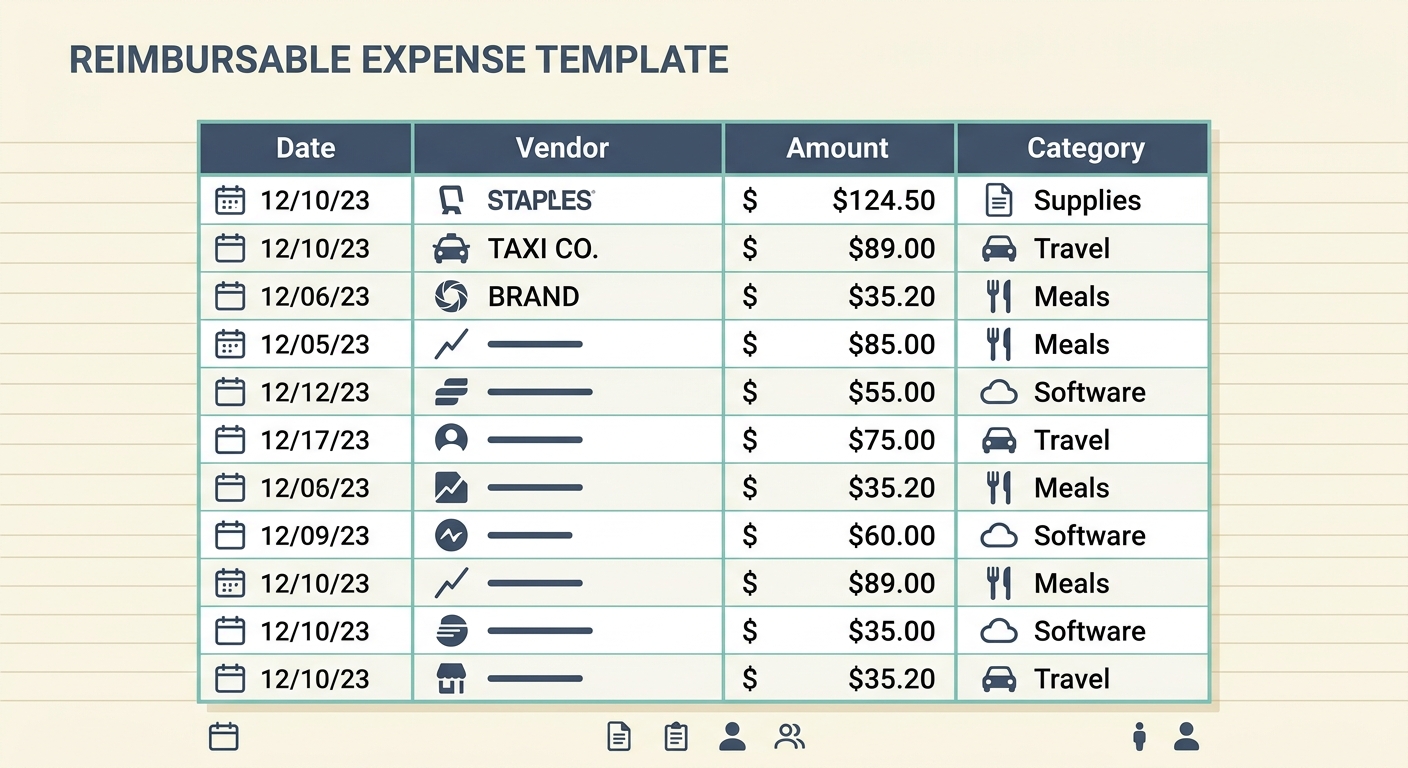
A reimbursable expense template is a spreadsheet or table used to track expenses paid by an employee, contractor, owner, or team member on behalf of the business. Each row represents one expense. The row should explain who paid, when the expense happened, what it was for, how much it cost, whether it was approved, and whether reimbursement has been completed.
This template works best when it sits between receipt capture and accounting. It gives managers enough detail to approve reimbursement, and it gives bookkeepers enough structure to categorize the expense later. Without a shared format, reimbursement requests often arrive as screenshots, forwarded receipts, chat messages, or vague notes like “client lunch.” That creates delays, duplicate payments, and cleanup work at month end.
A good template also creates a simple audit trail. If someone asks why a payment was made, you can point to the original expense row, the receipt, the approval status, and the reimbursement method. That clarity matters even for very small teams.
Fields and columns to include
The core columns should be practical and easy to understand. Start with the fields that every reimbursement needs, then add any business-specific fields only if they help your review process.
- Employee: The person requesting reimbursement. For freelancers or owner-operated businesses, this may be the owner, contractor, or client-facing team member.
- Date: The date the expense happened, not the date the reimbursement request was submitted.
- Expense: A short description of what was purchased, such as “printer ink,” “client lunch,” or “rideshare to meeting.”
- Amount: The total reimbursable amount, including tax and tip if those are allowed by your policy.
- Approved: A yes, no, or pending status that shows whether the expense has been reviewed.
- Reimbursed: A yes or no status that separates approved expenses from expenses that have actually been paid back.
- Method: The reimbursement method, such as payroll, ACH, cash, Venmo, check, or credit against an invoice.
- Notes: Extra context, such as client name, project, mileage details, missing receipt explanation, or approval comments.
You may also want columns for receipt link, category, project, client, department, tax treatment, or payment date. Keep those optional unless your team really uses them. A template with twenty unused columns can slow people down more than it helps.
How to use it
Start by agreeing on what counts as reimbursable. A template is only as useful as the rules behind it. Decide whether meals, mileage, home office supplies, subscriptions, travel, tips, and client gifts are reimbursable. Decide whether receipts are required for every amount or only above a threshold.
- Capture the receipt or proof: Ask the requester to save a receipt, invoice, email confirmation, or photo as soon as the purchase happens.
- Add one row per expense: Do not combine unrelated purchases into one row. Separate rows make review and accounting cleaner.
- Fill in the required fields: Employee, date, expense, amount, and notes should be completed before review.
- Attach or link the receipt: If you store receipts in Drive, Dropbox, email, or SlipSheet, link the proof to the row.
- Review and approve: A manager or owner marks the approved column and adds comments if needed.
- Pay the reimbursement: Once paid, update the reimbursed status, method, and payment date if you track it.
- Export for bookkeeping: Send the final rows to your bookkeeping spreadsheet, accounting software, or monthly close file.
SlipSheet can speed up the capture step by extracting receipt details into spreadsheet-ready data. Instead of typing every date, vendor, and amount by hand, you can use SlipSheet to convert receipt images or PDFs into rows, then review and adjust them before reimbursement.
Customization options
The right template depends on how your business pays people back. If reimbursements run through payroll, add payroll period and payroll approval columns. If you reimburse contractors against invoices, add invoice number and client columns. If you track expenses by job, add project, job code, or client name.
For tax-sensitive expenses, add a category column that matches your bookkeeping chart of accounts. Common categories include travel, meals, office supplies, software, postage, professional services, and mileage. If your bookkeeper reviews the sheet each month, use category names that match the accounting system. This reduces translation work later.
You can also add simple controls. A status dropdown for approved and reimbursed keeps the sheet consistent. Conditional formatting can highlight missing receipts, amounts over a policy limit, or approved expenses that have not yet been paid. A separate tab for policy notes can answer common questions without sending people to a long handbook.
Common mistakes to avoid
The most common mistake is mixing approval and payment status. An approved expense is not the same as a reimbursed expense. Keep those columns separate so nothing falls through the cracks.
Another mistake is accepting vague descriptions. “Supplies” may be enough for a quick chat, but it is not ideal for bookkeeping or review. Ask for short, specific descriptions that explain the business purpose. “Printer paper for office,” “client lunch after discovery call,” or “parking for sales meeting” are much easier to approve.
Finally, do not wait until the end of the month to collect everything. Receipts get lost, card statements become harder to interpret, and people forget why they made a purchase. A weekly reimbursement review keeps the template current and prevents a pileup during close.
Getting started
Create a simple sheet with the required columns, share it with the people who submit expenses, and set one review schedule. For many teams, weekly review is enough. If you have frequent travel or field work, review twice a week so employees are not carrying business costs for too long.
If your current process is scattered across email, texts, and photos, start by moving the next batch of expenses into one template. You do not need to rebuild your entire system in one day. Capture receipts, fill the rows, approve clean requests, and pay them back on a predictable schedule.
To make receipt handling easier, use SlipSheet to extract receipt data into spreadsheet-ready rows, then use your reimbursable expense template to review, approve, and track reimbursements from start to finish.
FAQ
What is a reimbursable expense template used for?
It is used to track business expenses paid personally by an employee, contractor, or owner so they can be reviewed, approved, and paid back accurately.
What columns should a reimbursement template include?
At minimum, include employee, date, expense description, amount, approval status, reimbursement status, payment method, and notes. A receipt link and category column are also helpful.
Should approved and reimbursed be separate fields?
Yes. Approval means the expense is accepted, while reimbursed means the person has actually been paid back. Keeping them separate prevents missed payments.
Do I need receipts for every reimbursable expense?
Most businesses should require receipts whenever possible, especially for tax records and internal review. You can set a small-dollar threshold if your policy allows it.
How can SlipSheet help with reimbursable expenses?
SlipSheet can extract receipt details into spreadsheet-ready rows, which reduces manual entry and makes reimbursement review faster.